Conveyors Tab
Overview
In this tab, you can configure the conveyors which are available in the RobotCell Module.
For how to add robots as submodules, refer to chapter Add Submodules to a RobotCell Module.
After adding conveyors as submodules, they are listed on the left of .
Also refer to How to Use Conveyor of Node Type 'Physical Encoder' in RobotCell Module.
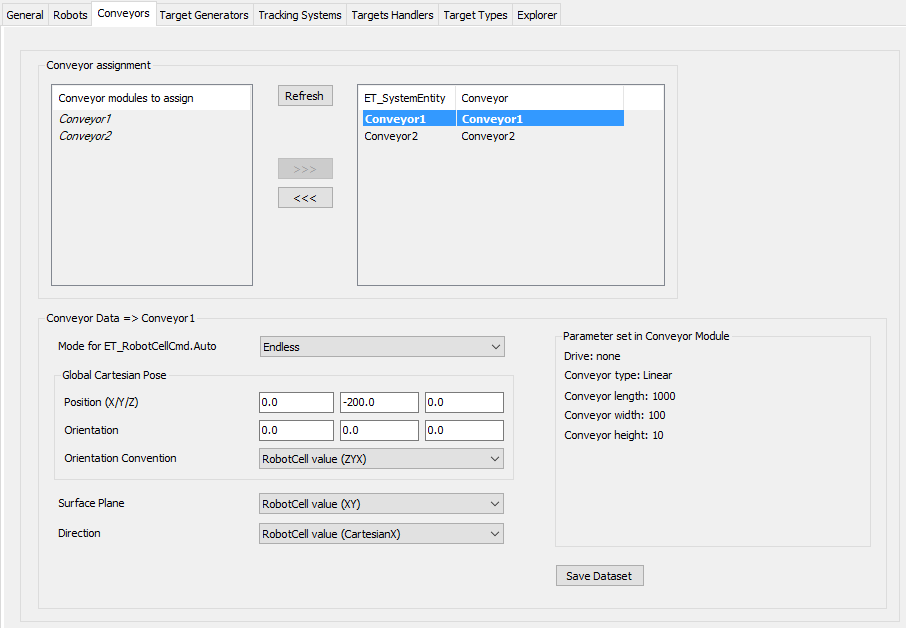
Conveyor Assignment
|
Element |
Description |
|---|---|
|
|
Click this button to refresh the list of available conveyors (for example, after adding a conveyor to your application). |
|
|
Select a conveyor to use in the RobotCell Module and click the button. Result: The conveyor is displayed in the list on the right of . |
|
|
Select a conveyor to remove from being used in the RobotCell Module and click the button. Result: The conveyor is displayed in the list on the left of . |
Conveyor Data
Select a conveyor in the list on the right of to display the dataset of the conveyor.
|
Element |
Description |
|---|---|
|
|
Select the auto command mode: Depending on the selected mode the Cmd table is generated to send the command Endless or Positioning.
NOTE: If you want to useMultiCam for the conveyor, you have to set the input i_xDoNotUseDefaultCmdTables to TRUE and set your own command table, for example in Configuration method. For more information, refer to Using i_xDoNotUseDefaultCmdTables.
|
|
|
Enter the Cartesian positions X/Y/Z.
NOTE: The Cartesian position refers to the coordinate system of the robot cell. It does not refer to the coordinate system of the conveyor itself.
|
|
|
Enter the conveyor orientation X/Y/Z. |
|
|
Select the general RobotCell value or choose another ROB.ET_OrientationConvention item from the list. |
|
|
Select the general RobotCell value or choose another ROB.ET_WorkingPlane item from the list. |
|
|
Select the general RobotCell value or choose another ROB.ET_RobotComponent item from the list. |
|
|
Click this button to save the modified data. Also refer to Verifying of Parameter Modifications. |